
Last summer, I decided to undertake the most epic craft project I've ever done. I made a giant, over-sized t-shirt blanket with Wings shirts on one side and Tigers shirts on the other. It's now one of my most prized possessions of all time. As promised (you know, a year ago...), here's a step-by-step account on how I created this super-comfy tribute to my two favorite sports teams.
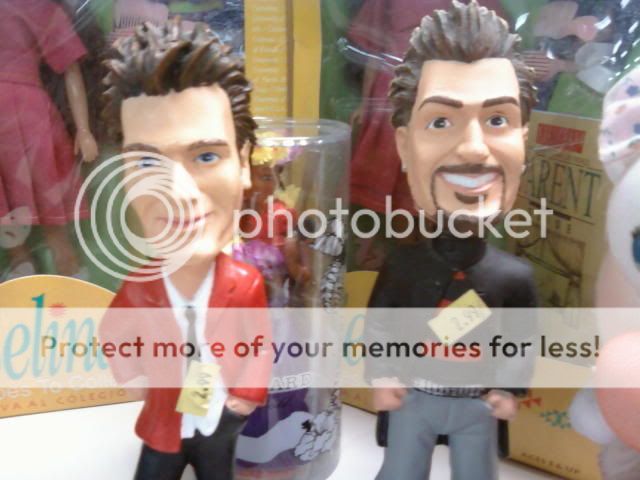
First of all, I spent the better part of three months scouring local Salvation Army stores (They really should have a frequent shopper rewards program) for t-shirts (Obviously I did other things during those three months, too.). I came across lots of random things during my search, like oddly titled records, *NSYNC bobbleheads, Han Solo cutouts with beach hats, some incredibly awesome money pants, and some really hideous shirts from the '90s. Originally, I was only on the hunt for Wings ones, as I was planning on covering the back with soft denim as I had done on previous blankets. However, while I was t-shirt hunting, I kept coming across tons and tons of Tigers ones, and I had the brilliant idea to put the Tigs on the back. Naturally, as soon as I started hunting for Tigers shirts, I was unable to find any, but that's another story. I visited at least ten different Salvos multiple times during the summer, picking up a few shirts here and a few there for a dollar or so each. Eventually I had all the t-shirts I needed, plus a few extras, and it was time to get going.
First I created a template out of some yarn-weaving plastic. (I'm sure this stuff has a specific name, but I've never bothered to find out what it is.) I wanted the regular squares to be 12 inches x 12 inches, plus 5/8 inch seam allowance. I also made a half-sized template to pair up shirts with skinnier logos into one larger square.

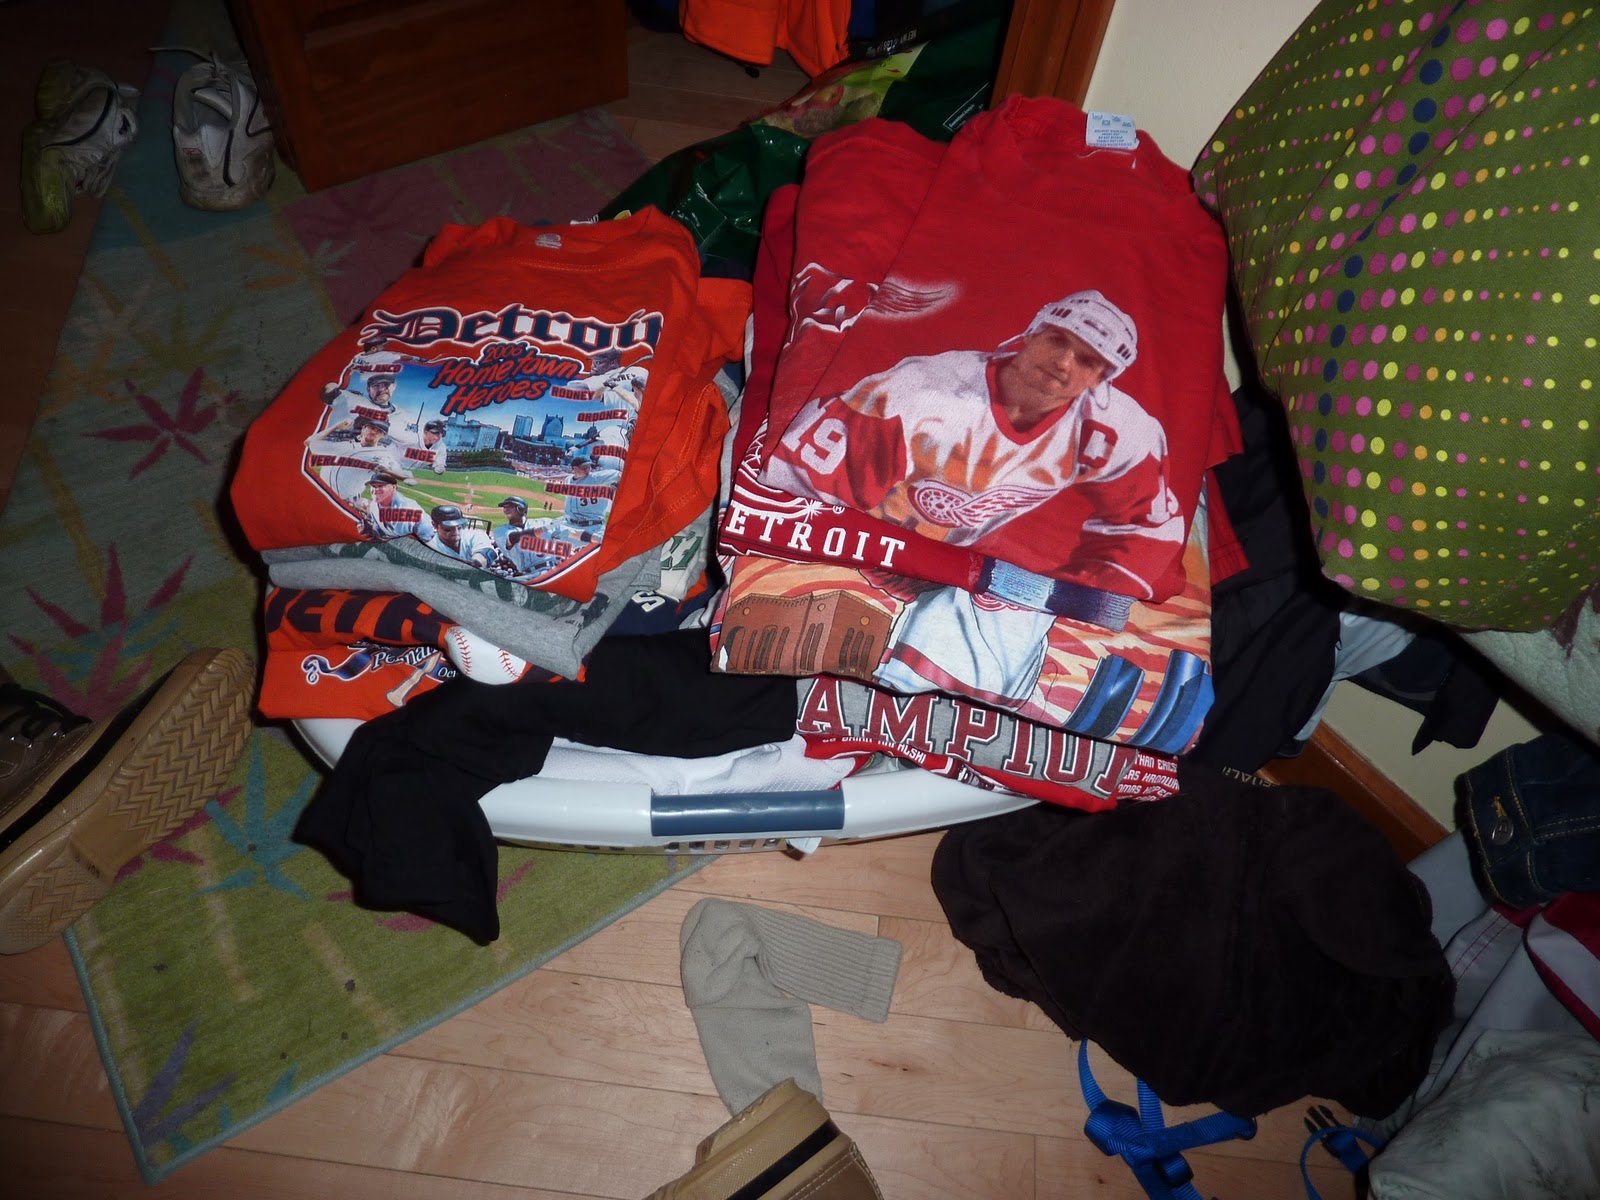
This laundry basket full of shirts was waiting to be cut down to size with those templates.
But first, I had to make a bar graph out of Tigers shirts. Not really. I was counting how many I had of each color so that I could make a perfect, checker-board style mixture of colors on the blanket.

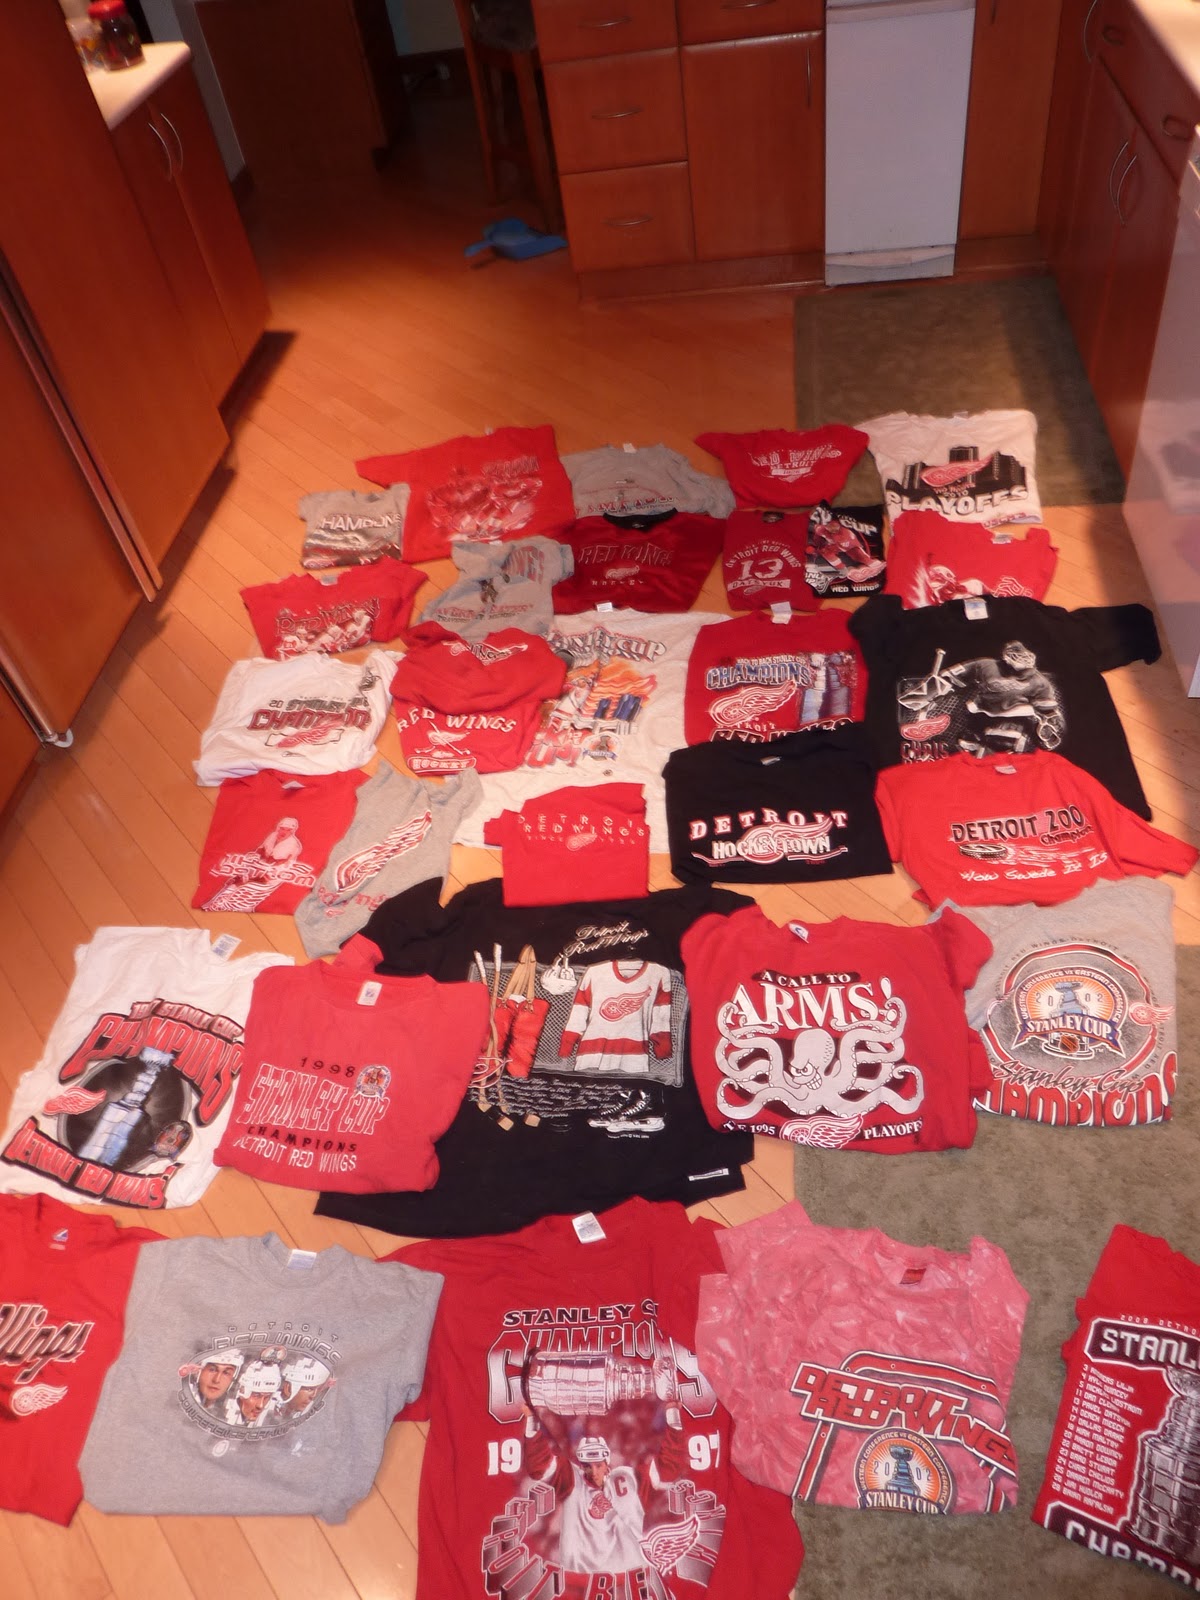
I also made a pile of Wings t-shirts.

My dog, Penny, decided to help me out. By laying in the middle of the pile. She's really helpful to have around the house.

I made a rough layout of the Wings side of the blanket first.
I had a secret fantasy of burying myself in the pile of Wings shirts. So I did.

After that, I laid out the Tigers side.

Penny liked my layout so much that she laid down in the middle of it. Like I said...helpful.

Not all of the shirts that I bought made it into the blanket. Example: this one. See if you can figure out why.

I also made a hard copy of my layout, complete with secret codes that only I could understand, really bad sketches, and atrocious handwriting.

Next, I had to trace the template onto all of the t-shirts. This was tedious. This shirt had a little logo in the corner, so I had to piece it together with panels from the rest of the shirt in order to center it.

This one had an extra-long screen print, so I added the small template to the regular template so I didn't have to cut any of it off.

Tracing things is more tedious than it sounds.

This is what happens to your hands when you trace washable marker all over cloth and plastic.

Then it was finally time to cut my first t-shirt. I started with the panels that needed extra work. I chose to start with this one since it was the only vertically split panel. I don't really know why there is an Olympic Cabbage Patch Kid there. I remember owning it in the mid-'90s, but I can't figure out what it was doing on my kitchen table last summer. Same goes for the Play-Doh. Anyway...

Freed from Crosby!

Next up was the Pudge Rodriguez sort-of jersey that I picked up for a couple dollars when I was planning on using a jersey as a centerpiece for each side. I couldn't bring myself to cut up the spare Wings jersey I'd bought though, so I gave it to my brother and scrapped that idea. This one just became a panel. I cut the back open and pinned the front together. Then I ran it (extremely slowly) through the sewing machine so that I could follow the seams as closely as possible to make sure that it couldn't be unbuttoned. I also added a scrap of white fabric from another t-shirt around the collar to fill in the gap and make it into a square. This is one of my favorite parts of the blanket.

Since Penny was clearly so excited about the project, we thought she'd love to wear this mini Tigers shirt that wasn't going to make it into the final product.

Then my little brother decided to see if he could put on all 69 of the shirts at the same time. He usually has a neck.

These were the scraps of the shirts that I cut up. I wish I could've found a way to reuse them for another project, but there aren't a whole lot of uses for t-shirts with only a back and sleeves.

The shirts are all stacked neatly in the order in which they'll eventually be sewn together.

Time to iron on the interfacing! Interfacing is the difference between a decent t-shirt blanket and a great t-shirt blanket. It helps the shirts keep their shapes and prevents them from stretching.

The only downfall of interfacing? You have to go back and cut out all of the panels AGAIN.

Then, at long last, it was time to start sewing. I started with the Eurotwins panel. The Datsyuk half was the only one of the shirts that wasn't a thrift store purchase. I'd gotten it as a gift from my parents in high school. It was a hard decision to cut it up, but I really wanted something to pair with the Zetterberg one. Luckily, I came across a Datsyuk shirsey at a Salvo near Metamora along the way, so I didn't really lose anything.

Then I went to work on the rest of the Wings side, putting each column together individually.

Then I sewed the columns together. This is the Wings side (obviously). I've got shirts from all four of the most recent Stanley Cups, as well as one from the '95 playoffs. The oldest one is the big black one right in the middle of the blanket, which dates all the way back to 1991.

And the Tigers side. It's a little less illustrious because, well, you know what the last 25 years have been like. I've got a couple from the '06 World Series, and one that dates back to 1993. My favorite parts are the shirts for Tiger Stadium, Briggs Stadium, and Comerica Park. Cutting up the Briggs one kind of killed me because it was so soft and comfy. I also love the panel with four logos in it.

I lined the inside with a layer of plain fleece. I also used a permanent marker to write important things like championships, retired numbers, and milestones on the backs of some of the shirts. They're a nice, secret little thing hidden inside the blanket just for me (Except for the one Tigers panel where some of my writing bled through to the front). There may also be a tiny scrap of my tinfoil hat from H2H in there. Maybe.

I put a lot of hours into this, and it truly was a labor of love. My hometown teams are never far from my heart, even here in the sports wasteland known as Florida.
I love it! You are so crafty! <3 And I love all the random stuff that you've acquired. I wish I had a secret language with myself. Too bad I would forget everything right away.
ReplyDeleteAmazing job, Kris!!! Unbelievable!!!
ReplyDeleteThat is so freakin' cool!!! You did a great job on this. I love the idea of one side WIngs, other side Tigers. *covets*
ReplyDeleteDespite this being a Red Wings quilt (lol), great tips! I really want to make a t-shirt quilt and have been googling like crazy trying to find good hints.
ReplyDeletePS....my dog is super helpful with projects too, he loves to lay in the middle of whatever I'm working on.
Found you on pinterest. I love the idea of using shirts for both sides. Currently working on building a nice collection of disney shirts. But I didn't see any mention of how you got the two sides together. Help please.
ReplyDeleteFound you on pinterest. I love the idea of using shirts for both sides. Currently working on building a nice collection of disney shirts. But I didn't see any mention of how you got the two sides together. Help please.
ReplyDelete